Tuesday, October 13, 2009

Toffee Brownies and Blondies

Do you often find yourself with an excess of chocolate toffee bars? No? You should try it sometime.

blondies4

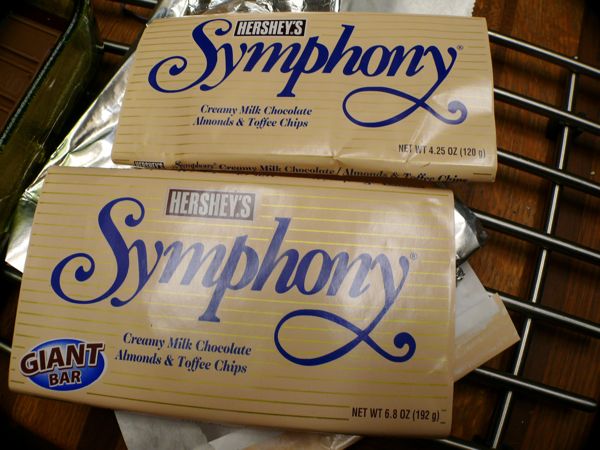
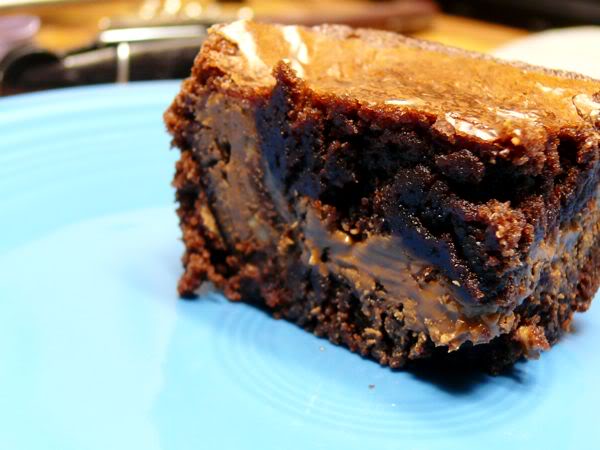
I purchased some Hershey's Almond and Toffee Symphony bars because of these amazing brownies a lady at my work makes with them. They're ridiculously easy, and ridiculously awesome. All you need is a family size brownie mix and several of the chocolate toffee bars (enough to cover whatever size pan you're using).

They come in different sizes. Bigger and better.
dinnah2

The family size brownie mix will fill a 13 x 9 pan, but you can also use a square pan, your brownies will just come out thicker. Ah, the wonders of science!

Start by following the directions on the back of the box. Then pour half the mix into your (greased) pan of choice, and cover with a layer of toffee bars (depending on your pan size and your bar size, they'll either fit across the pan perfectly, or you'll need to puzzle piece them together a little bit).
dinnah1

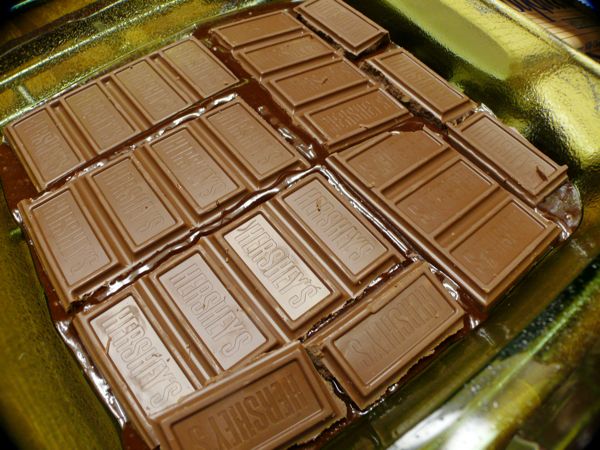
Then pour the other half of the mix over the top, and cook the brownies as directed (just check them with a fork or toothpick, they may or may not need a few extra minutes).

october4


Then earlier today I came across a recipe for Heath Bar Brownies. I happened to have a large portion of one of my toffee and almond bars left, so I ran it through my food chopper and determined that I had enough to make this recipe (you could always supplement with chocolate chips...in fact you should probably add some of those anyway).

Ingredients:
1 cup flour
1/2 tsp baking powder
1/8 tsp baking soda
1/2 tsp salt
1 cup brown sugar
1/2 cup melted butter
1 large egg
1 tsp vanilla
1 cup chopped Heath Bars (or in this case, almond and toffee Symphony bars)

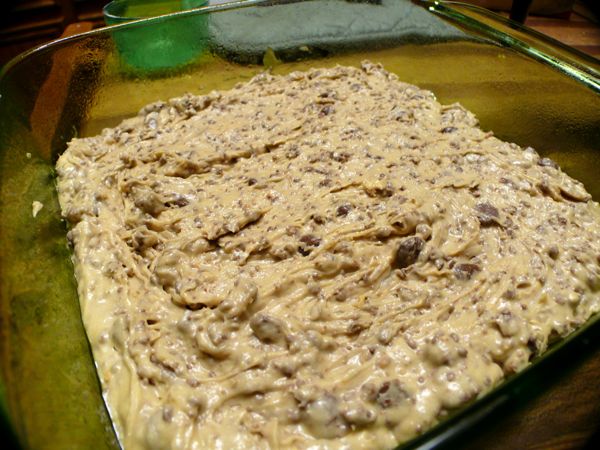
Preheat your oven to 350, and start by creaming together the brown sugar and melted butter. Then beat in the egg and vanilla. Next, add the dry ingredients to the batter and mix until blended.

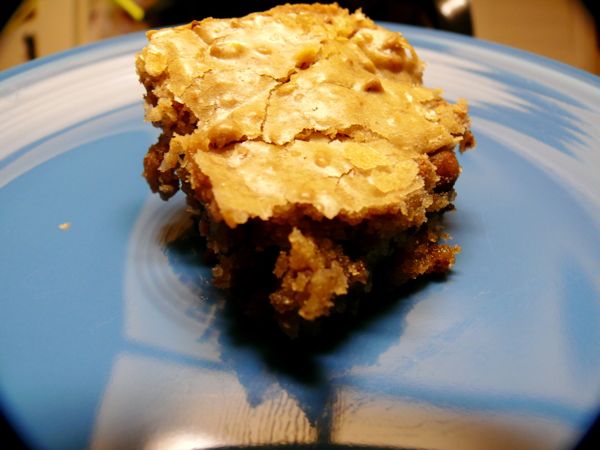
Finally, stir in the Heath/Toffee/Whatever bars (or whatever addition you prefer) and pour into a greased 8x8 pan.
blondies1

Bake for 30-35 minutes.
blondies3

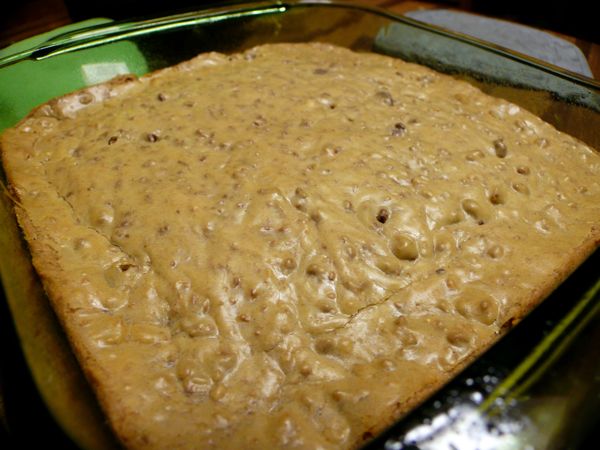
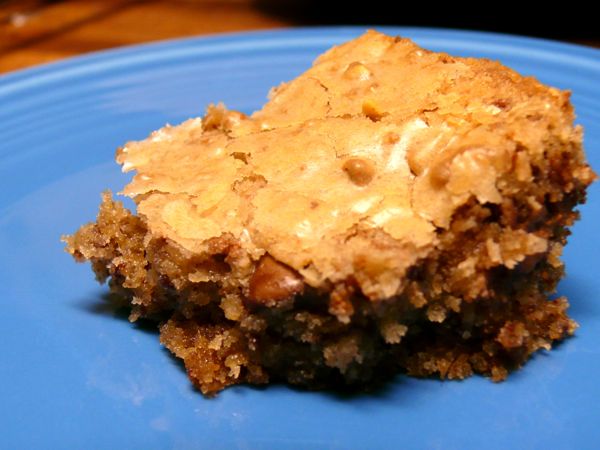
Let them cool completely, and then cut them up, separating out the best pieces for yourself and eating them before anyone else can.
blondies5

Click here to see more!

Green Bean Casserole

So I ordered some onion strings while I was at Kona Grill for Happy Hour. They gave me a huge pile and I'm not even sure I ate half of them. My dinner companion had the brilliant idea that I take them home and make greenbean casserole.
gbcass1

So that's what I did.

I imagine most green bean casserole recipes are similar, green beans and cream of mushroom soup. This one also uses cheese (Velveeta!), and that makes it better than all the other recipes. And of course french fried onions (the kind in the can will work if you don't have restaurant leftovers like I did).

You'll need 2 cans of green beans for each can of cream of mushroom soup. For a large casserole dish you would likely use 4 cans of green beans. I am cooking for one in a 9 x 9 pan, so I only used 2 cans of green beans, and 1 can of soup.

Mix your green beans and cream of mushroom soup together, along with some of the french fried onions (make sure to leave enough to spread on top). Go ahead and add a dash (or 8) of Worcestershire sauce if you're so inclined. After you've mixed this all up, and somewhat flattened the top, you'll want to cut up some cubes of Velveeta cheese (not the whole block, calm down). Place the cubes on the top, spread out a bit, and stick the whole thing in a 350 degree oven for about 20 minutes (just until the cheese is melted).

You end up with this.
gbcass2

Now, mix the whole thing up again, so that creamy, yummy, cheesy goodness is evenly spread throughout the dish. Then cover the top with more french fried onions. And back in the oven it goes, maybe for another 20 or 30 minutes (it's all cooked, you're just getting things hot and crisping up your onions).

Once it's out of the oven, you can just inhale the lovely aromas.
gbcass3

Then you pretty much have to eat it. Probably two helpings.
gbcass4

Click here to see more!

Thursday, October 8, 2009

Mt. St. Helens - layer dip

My family has always called this Mt. St. Helens...because that's what it was called in the cookbook where my aunt found the recipe. It's very similar to what a lot of people call "Mexican Layer Dip", maybe exactly the same in some cases. But either way, it's easy to make, and everyone will love it.

layerdip15

Oh the excitement you can have with less than 10 ingredients...

You will need:
guacamole dip
sour cream (16 oz container)
a packet of taco seasoning
shredded cheese (the recipe calls for Cheddar and Monterrey Jack, but I tend to buy the pre-shredded blends that are a mix of several cheeses)
a tomato
a small bunch of green onions
a small can of minced olives

This will fit in a 13 x 9 casserole dish, or the equivalent. I've used disposable cake pans, round trays, etc., depending how fancy I want the end product to look. I also like to make it the day or so before the "event" because it just tastes better after it's sat awhile.

There is a big football game this weekend, and I am expected to join some people in tailgating. I figured this dip would be the perfect thing to contribute, so I'm making a double recipe.
layerdip1

We start with guacamole. Before you go thinking this is "real" guacamole, I assure you, it's not. It's actually guacamole flavored dip (you can typically find it next to the sour cream and french onion dips).
layerdip2

Next, mix the sour cream and taco seasoning. I usually do this within the sour cream container, but since I was mixing up two containers, I poured it in a bowl first.
layerdip3

layerdip4

Cheese comes next. I used to grate this myself, but now I buy the pre-shredded "fiesta" blend because I am lazy.
layerdip6

The last three ingredients are to add some color as well as flavor. But if I ever don't have one of these items, I'll make the dip without it, and there usually isn't a huge degradation of quality.

First chop up your tomato...
layerdip8

And spread it all over your cheese.
layerdip10

Keep up the good work, and add some chopped green onions.
layerdip11

Last but not least is our minced black olives. I buy these in a little can, and I never use the entire can...but that's the size container they come in, so that's what I buy. And I squeeze out the extra juice first.
layerdip14

I didn't even use the whole can on this huge double-batch dip. But regardless, I know my efforts will be appreciated.
layerdip13

It now goes into the fridge, until it's time to tailgate. Then we'll devour it with a collection of corn chips and tortilla chips.

Click here to see more!