I was going to go to the gym. But then I went to the grocery store instead.

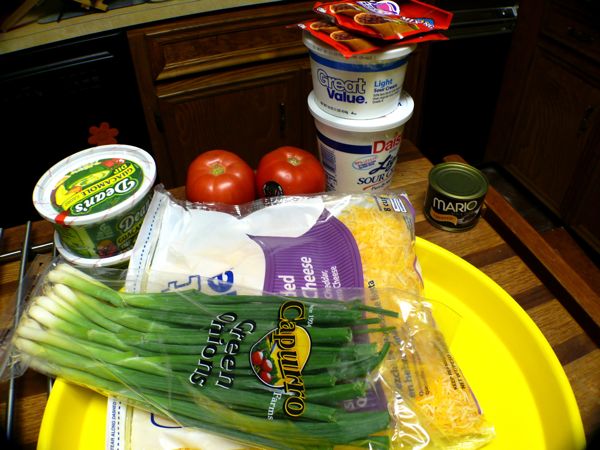
You too should go to the grocery store.
Bottom Layer:
6 tbsp cocoa
2 sticks melted margarine
2 c sugar
1½ c flour
4 eggs
1 tsp vanilla
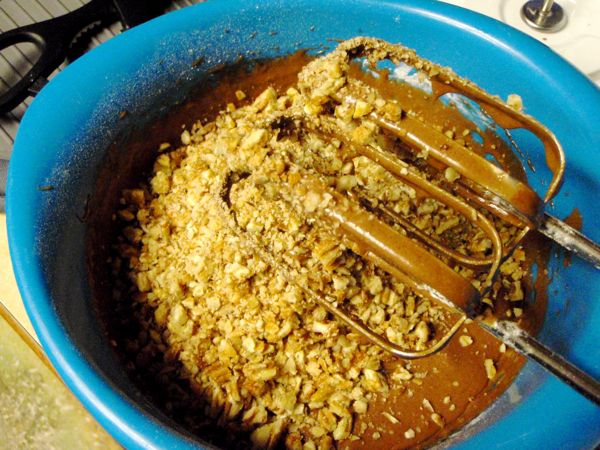
2 c chopped pecans
Middle Layer:
1 jar marshmallow creme (7 oz)
Top Layer:
½ stick melted margarine
½ c evaporated milk
½ c cocoa
1 box confectioners sugar (approx 4 cups)
½ tsp vanilla
You'll also need a large cookie sheet, and you'll want to grease that cookie sheet.
For the bottom layer...
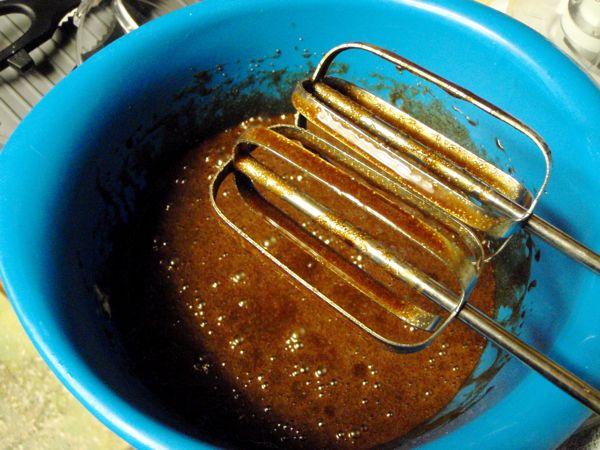
Melt the margarine, and beat in the cocoa and sugar
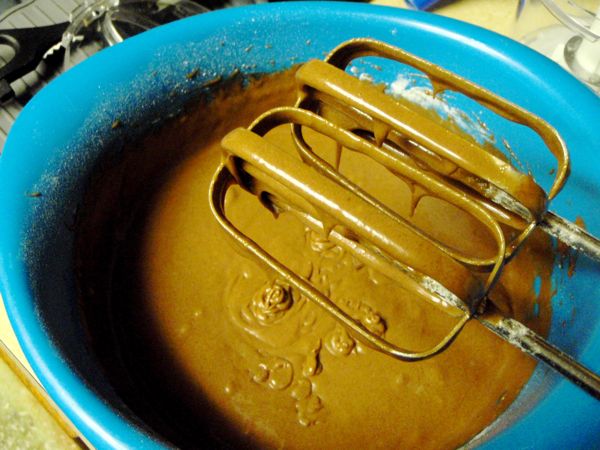
Beat in the eggs, then add the flour and vanilla
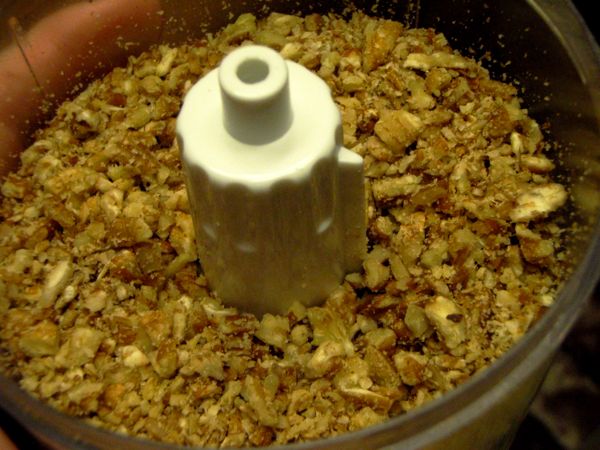
I chopped up the pecans in my little food chopper
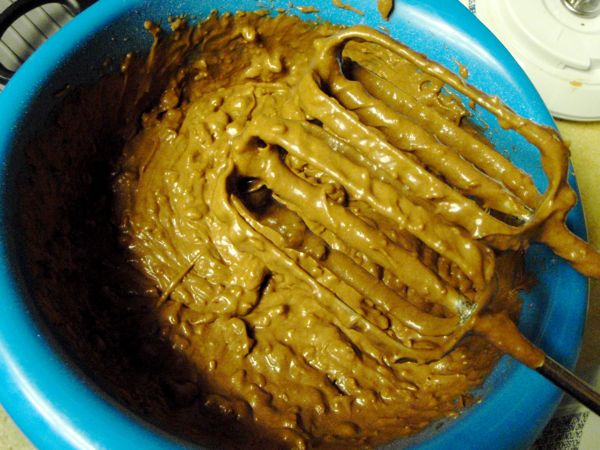
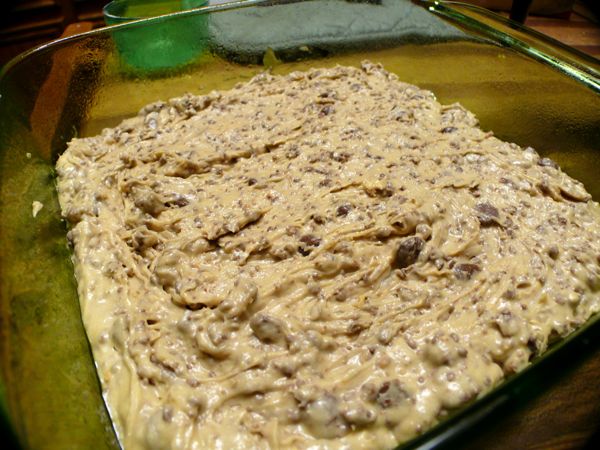
Spread it out on your greased cookie sheet

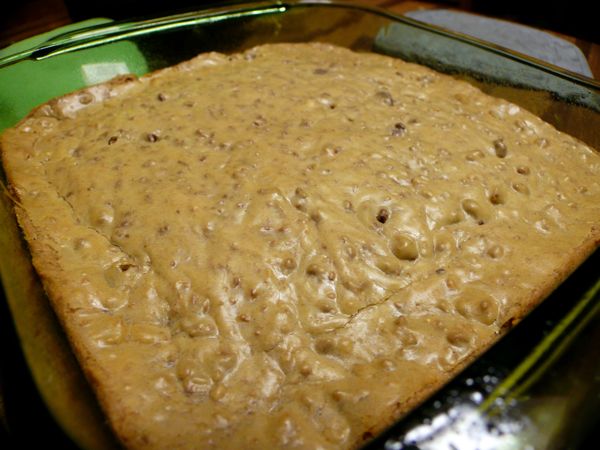
Bake at 350 for 17 minutes

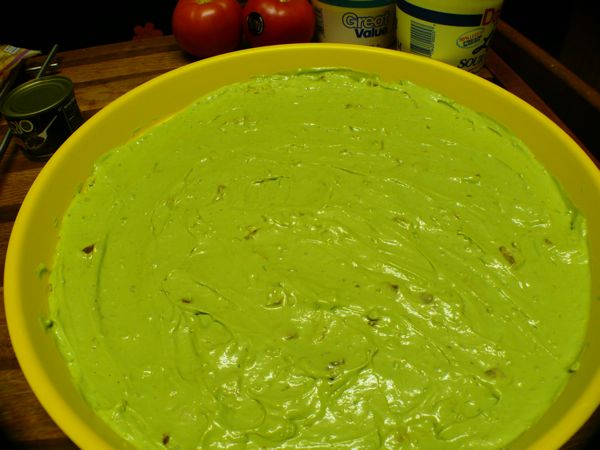
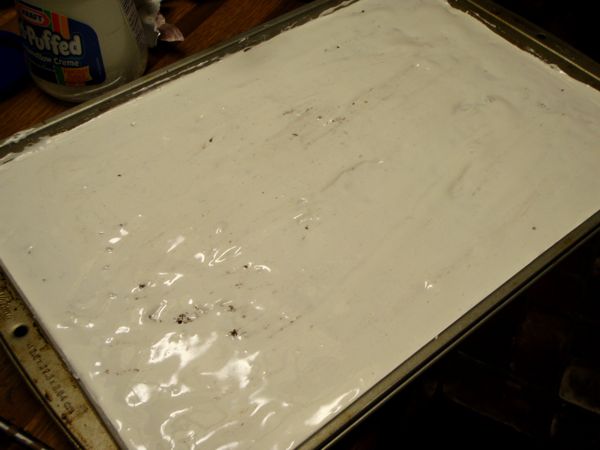
Then spread the jar of marshmallow creme all over the top

It'll melt a bit, which makes it easier to spread
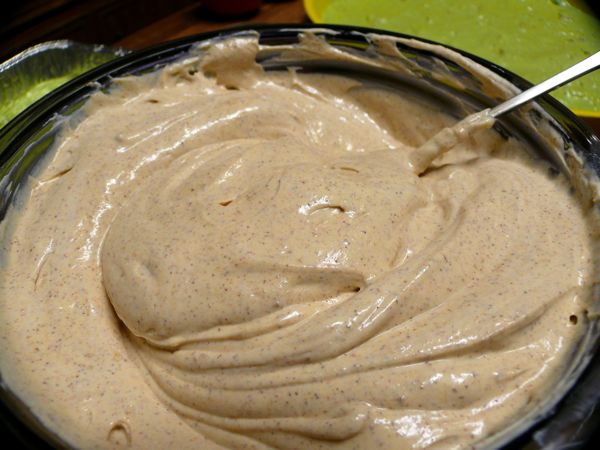
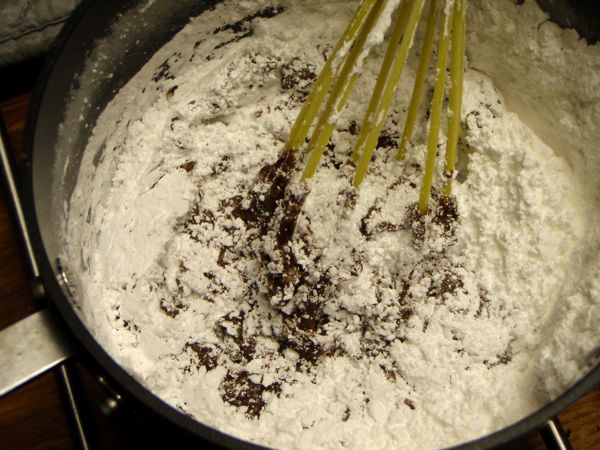
For the last layer, bring ½ stick of margarine and ½ cup of evaporated milk to a boil

Then add ½ cup cocoa, the confectioners sugar, and ½ tsp vanilla
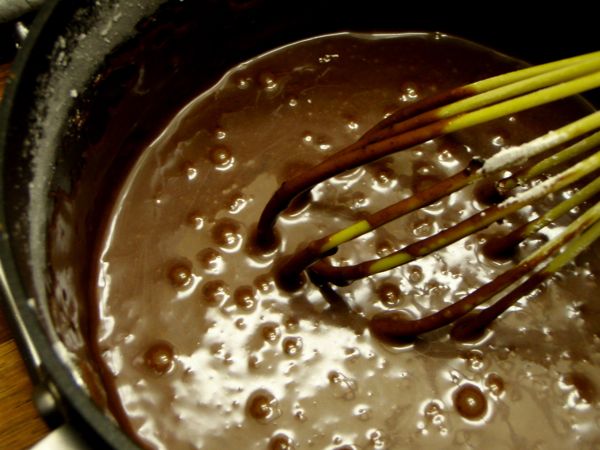
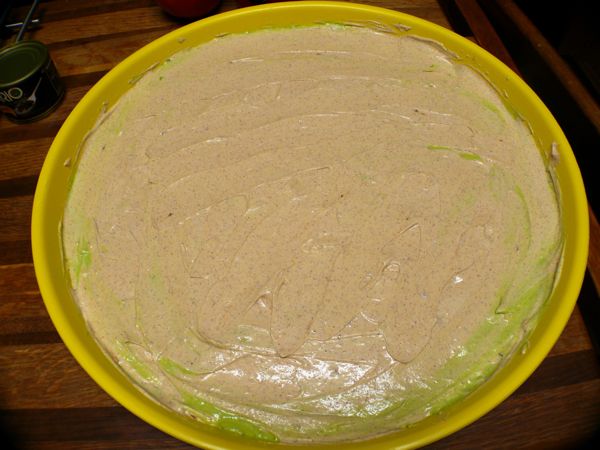
Pour that over the top, and spread it out
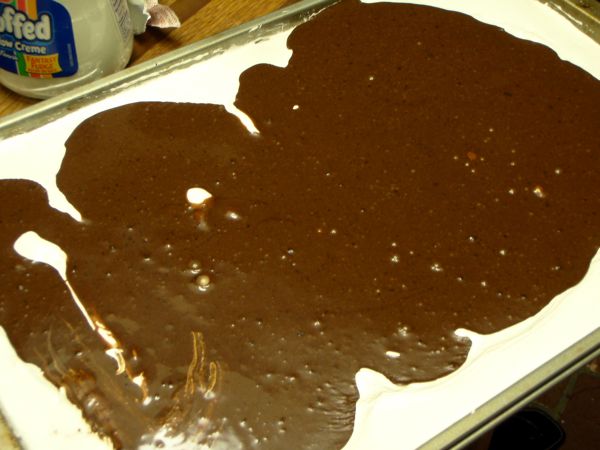
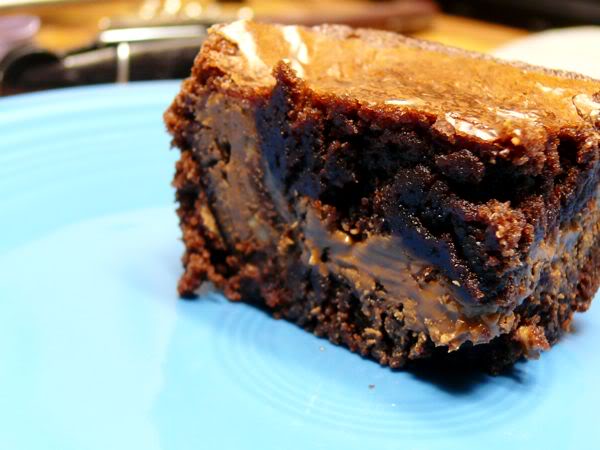
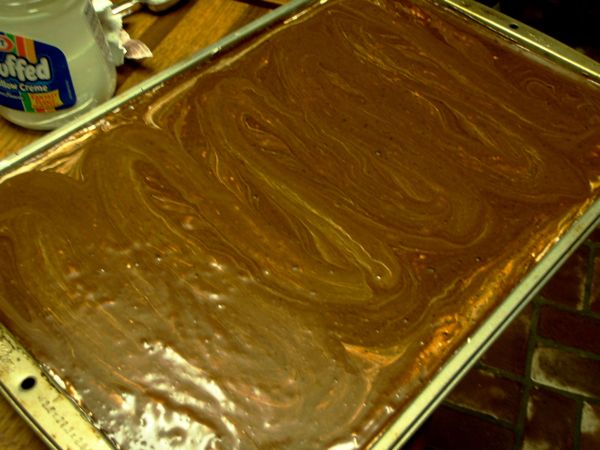
The chocolate might mix a little with the marshmallow creme, and this is fine. You can make a point of marbling it consistently by mixing deeper as you spread (I used the back of a spoon)
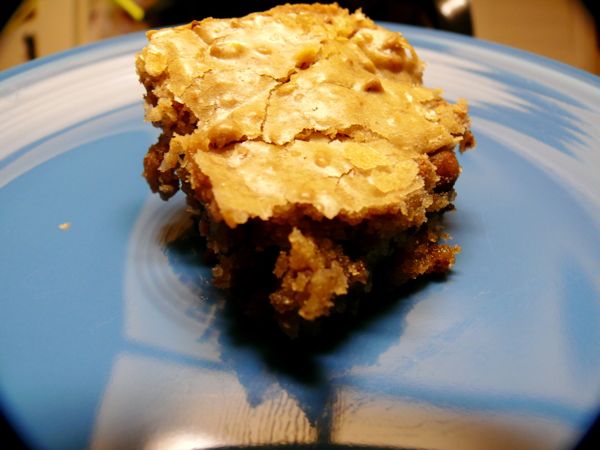
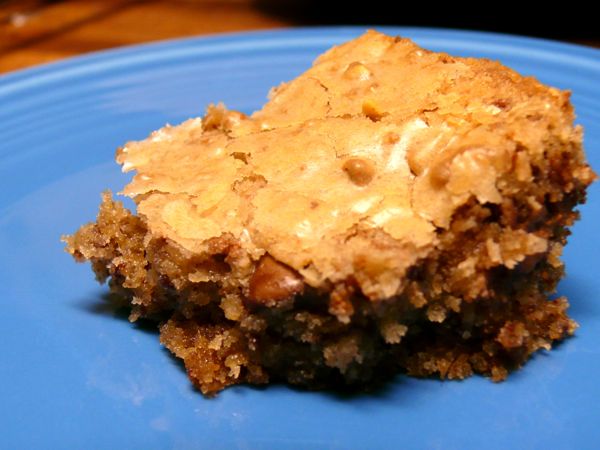
Then you'll want to chill the whole thing (perhaps let it cool off a bit before you stick it in the fridge). Then cut the brownies into squares!
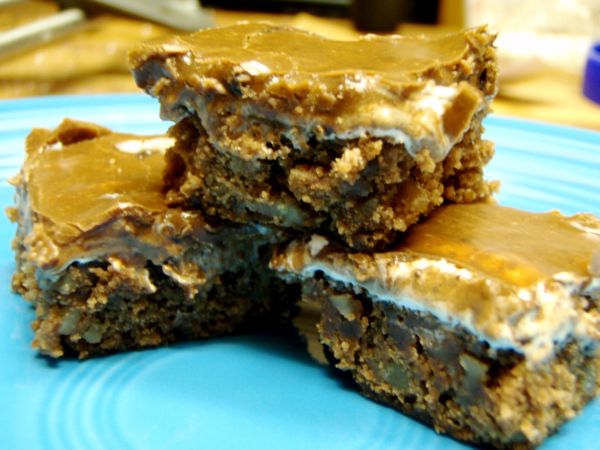
Once they're cut up, I store them in the freezer, just like my grandmother, and they're a great frozen treat!
Click here to see more!